
Reports
Before you share a glucose report: a practical checklist
Choose the date range and format, review the exported file, and confirm the recipient before sharing your glucose report.
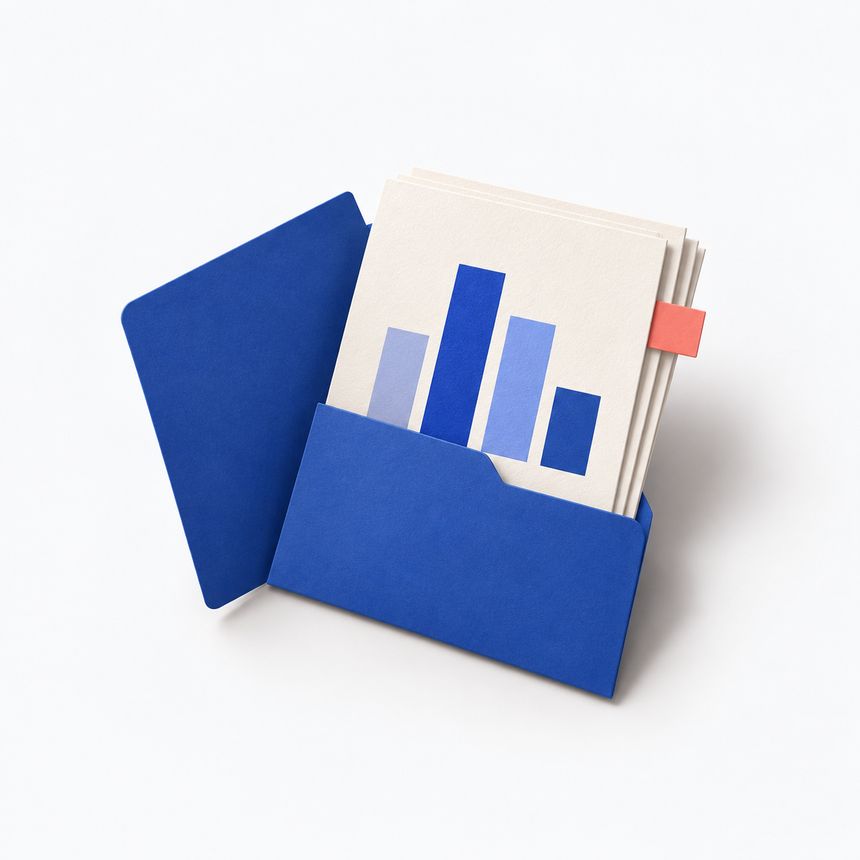
Before sharing a glucose report, check the date range, units and included records, then open the exported file yourself. A successful export does not prove that you selected the right information. A quick check can catch missing records or the wrong date range before your appointment.
Decide what the recipient needs
If you are preparing for an appointment, ask which dates and format the practice accepts. Avoid assuming that it can open any attachment or that it wants your entire history. Keep your own questions alongside the report so you do not have to remember them later.
Glucose and Blood Sugar Track offers PDF and CSV export with Premium, as described in its App Store listing. Export settings let you select record categories. Include what is relevant to the intended conversation; a longer report is not automatically a more useful report.
Make the export match the conversation
In GlucoseTrack on iPhone, start from Export Report in Summary or Settings. Choose the period before checking the categories behind the gear button. The Include Statistics option lets you decide whether to add a summary alongside the records. These choices control the file you create; the export is not a full backup of the app.
Choose PDF or CSV for the task
A PDF is convenient when you want a document someone can read or print. A CSV is a table of data that can be opened in a spreadsheet. They serve different purposes. Neither format interprets a reading for you or turns a personal diary into a clinical assessment.
For a CSV, inspect the column headings before doing anything with the numbers. Confirm which column holds the date, time, value and unit. Spreadsheet software may display dates or decimal separators differently from the original file. Keep an untouched copy before sorting or editing the table.
Review the actual file
Open the exported file in the app you expect to use for viewing it. Check the first and last dates, then compare a few entries with the diary. Look for a wrong date range, an unexpected unit, missing categories or duplicate records.
If the report includes statistics, remember that they describe the records included in that export. Missing days remain missing. A file with fewer entries does not explain why those entries are absent, so add that context separately if you know it.
A quick final check:
- Does the date range match the request?
- Are the units visible and consistent?
- Are the selected categories the ones you intended to include?
- Can you open and read the file without returning to the tracker?
- Does it contain any personal detail you did not intend to send?
Check the recipient and sharing method
Use the recipient’s agreed sharing method and check the address or contact before sending. Once you export a file, copies can remain in Files, an email draft or the receiving service. Deleting a copy from your phone does not remove copies someone else already received.
Name the file so you can find it again, while avoiding unnecessary personal information in the filename. Keep the original diary as your record. For readable meal context, use the food diary guide; for permissions and sharing boundaries, read health data privacy.
Bring questions alongside the numbers
Food notes can add context that an export alone does not contain. Keep the meal time, a description of what you ate, and the source of any nutrition figures. A label, recipe calculation and photo estimate are different sources. If an ingredient or portion was unknown, say so in the notes.
Check whether your export contains the notes and photos you want to discuss. Do not assume it includes every part of the food diary. Prepare relevant extras separately and keep their dates attached so the recipient can connect them with the right period.
NIDDK recommends bringing records and context to your care team. A useful question might be “Which meal details should I record next time?” Avoid selecting only the entries that appear to support a theory about one food. Bring records for the whole requested period, including ordinary days.
You do not need to add measurements or change your existing routine to produce a fuller-looking file. The records you actually have are the starting point. A clear note about what is missing is more useful than a complete table built from guesses.
If you prefer handwritten notes or want a separate sheet for meal details, use the free weekly glucose and food diary. It is a blank printable template, not an export of your app records, and you can download it without Premium or an account.
A personal tracking tool, not a medical device. The app does not measure blood sugar or provide medical advice. Review scanned values and food estimates before saving.
Download on the App Store
Can Apple Watch measure glucose? Check what the ad is really saying
Distinguish glucose measurement, a CGM reading displayed on a watch, and manual app logging before trusting a smartwatch claim.
↗
Where your glucose data goes: a privacy checklist
Understand local records, Apple Health access, optional meal scans and exported files before deciding what to share.
↗
Set up logging reminders that fit your day
Use reminders as practical prompts, check iPhone notification settings, and keep missing entries honest without chasing a perfect streak.
↗